Discover the art of needlepoint with our comprehensive guide, offering step-by-step instructions for mastering essential stitches, thread selection, and techniques to create beautiful, intricate designs effortlessly.
Overview of Needlepoint and Its Importance
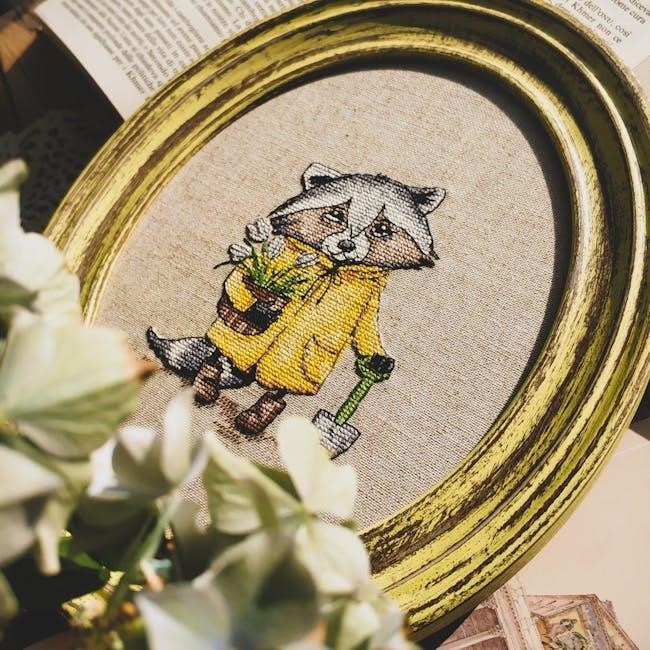
Needlepoint is a traditional and versatile form of hand embroidery, creating intricate designs on open-weave canvas. It combines creativity with technical skill, offering both functional and decorative results. This craft has gained popularity across generations, from experienced enthusiasts to Gen Z and young millennials, as seen in its recent resurgence. Needlepoint’s significance lies in its ability to transform thread into stunning visuals, making it a cherished art form. Whether for personal expression or crafting heirloom pieces, needlepoint’s enduring appeal continues to inspire artists worldwide, blending tradition with modern creativity in every stitch.
Basic Tools and Materials Needed for Needlepoint
To begin needlepoint, you’ll need a few essential tools and materials. Start with a tapestry needle, designed for canvas work, and pair it with scissors for cutting thread. Choose a sturdy frame or stretcher to keep your canvas taut; Select high-quality yarn or thread, suitable for your project’s texture and color; A variety of fibers are available, from wool to silk, each offering unique results. Don’t forget a canvas, either hand-painted or blank, depending on your design preferences. These basics will set you up to explore the world of needlepoint stitching with confidence and creativity.
Popular Needlepoint Stitches for Beginners
Master foundational stitches like the tent and basketweave, which provide a solid base for any project, before exploring more intricate designs and techniques in needlepoint artistry.
Tent Stitch: The Foundation of Needlepoint
The tent stitch is the most basic and essential stitch in needlepoint, creating a smooth, even surface. It’s worked in a diagonal direction, with each stitch covering one canvas intersection. Ideal for beginners, it forms the base for more complex designs. The tent stitch is versatile and can be used for both background filling and detailed work. Proper tension is key to avoid puckering the canvas. This stitch is also reversible, making it perfect for projects where the back will be visible. Mastery of the tent stitch is crucial before progressing to other techniques, ensuring a solid foundation for all needlepoint projects.
Basketweave Stitch: Adding Texture and Dimension
The basketweave stitch is a versatile and popular needlepoint stitch that adds texture and depth to your projects. Worked in a series of horizontal and vertical stitches, it mimics the look of woven fabric, creating a dimensional effect. This stitch is ideal for backgrounds, large areas, and designs requiring visual interest. It’s reversible, making it suitable for projects where the back may be visible. The basketweave stitch is easy to learn but offers a sophisticated look. By alternating the direction of your stitches, you can achieve a woven appearance that enhances the overall design. It’s perfect for adding complexity without overwhelming the canvas.
Advanced Needlepoint Stitches
Explore complex techniques to elevate your craft, creating intricate patterns and dynamic textures. Master advanced stitches to bring sophistication and depth to your needlepoint projects effortlessly.
Diagonal Chevron Stitch: Creating Dynamic Patterns
The Diagonal Chevron Stitch adds movement and energy to your designs. Worked in diagonal rows in two opposite directions, it creates a braided effect. Each row can be stitched in alternating colors or entirely different hues, offering endless creativity. Start by bringing your needle up two rows above and one to the right of the last stitch. Work from top right to bottom left, then reverse direction for the next row. This stitch is perfect for geometric patterns and modern designs, allowing you to experiment with color and texture for a unique, professional finish.
Woven Stitch: Mastering Complex Textures
The Woven Stitch is a versatile technique that creates rich, dimensional textures in needlepoint. It involves working a series of diagonal and straight stitches in an interlacing pattern, mimicking the look of woven fabric. This stitch is ideal for filling large areas or creating intricate backgrounds. To master it, start by stitching diagonally in one direction, then cross over with straight stitches in the opposite direction. The Woven Stitch adds depth and visual interest to designs, making it perfect for complex textures and layered compositions. With practice, it becomes a go-to stitch for adding sophistication to any needlepoint project.
Thread and Yarn Basics for Needlepoint
Explore the variety of threads and yarns, including wool, silk, and cotton, each offering unique textures and colors to enhance your needlepoint stitching experience.
Choosing the Right Fibers for Your Project
When selecting fibers for needlepoint, consider durability, texture, and color retention. Wool is ideal for its sturdy texture and ability to hold stitches well, making it perfect for detailed work. Silk offers a smooth, lustrous finish, great for fine details and vibrant colors. Cotton is versatile and soft, suitable for both casual and intricate designs. Specialty fibers like metallics or sparkly threads add decorative flair, while blended yarns combine the benefits of multiple materials. Always choose fibers that match your project’s complexity and desired aesthetic to ensure a professional, polished finish.
Understanding Thread Colors and Combinations
Choosing thread colors and combinations is essential for creating visually appealing needlepoint designs. Start by selecting colors that complement your canvas and desired aesthetic. Consider using complementary colors for contrast or analogous hues for harmony; Metallic threads add shimmer, while matte threads provide subtle tones. Experiment with gradients or ombre effects for depth. Test small swatches to ensure colors blend well. High-quality threads retain vibrancy and texture, enhancing your project’s professional finish. Proper color selection elevates your needlepoint artistry, making your designs stand out with both creativity and precision.
Resources and Guides for Needlepoint Enthusiasts
Explore video tutorials, step-by-step guides, and expert instructions to enhance your needlepoint skills. Discover comprehensive resources and inspiration for all skill levels, from basics to advanced techniques.

Video Tutorials for Step-by-Step Learning
Enhance your needlepoint skills with video tutorials offering clear, step-by-step instructions for various stitches. From basic techniques like the Tent Stitch to complex designs such as the Woven Stitch, these tutorials cater to all skill levels. Expert instructors provide detailed guidance, ensuring you master each stitch with confidence. Videos often include close-up demonstrations, making it easier to follow along. Whether you’re a beginner or an advanced crafter, these resources help you refine your craftsmanship and explore creative possibilities. Many tutorials are available online, allowing you to learn at your own pace and perfect your needlepoint projects effortlessly.
Stitch Guides and Instructional Books
Stitch guides and instructional books are invaluable resources for mastering needlepoint techniques. Laura Taylor, a renowned instructor, offers over 50 detailed guides for all skill levels. Books like The Needlepoint Handbook by Hilda V. Bridget provide step-by-step instructions for beginners, while resources from DMC and other experts cover advanced stitches. These guides often include diagrams, thread recommendations, and project ideas, ensuring crafters can explore various styles and complexities. Whether you’re learning basic stitches or refining intricate designs, these resources offer comprehensive support. They are perfect for those who prefer written instructions over video tutorials, making them essential for any needlepoint enthusiast’s library.

Expert Tips for Mastering Needlepoint Stitches
Master needlepoint stitches with expert tips: start from the center, use quality materials, and combine stitches for unique designs. Elevate your craftsmanship with precision and creativity.
Starting from the Center: A Proven Strategy
Begin your needlepoint project from the center to ensure symmetry and balance. This approach helps maintain even tension and prevents distortion. Fold the canvas to locate the center, then mark it lightly. Starting here allows you to work outward evenly, reducing errors. Use quality threads and materials for optimal results. Laura Taylor’s guides emphasize this method, ensuring precise stitching. By following this strategy, you’ll achieve professional-looking designs with ease and confidence.
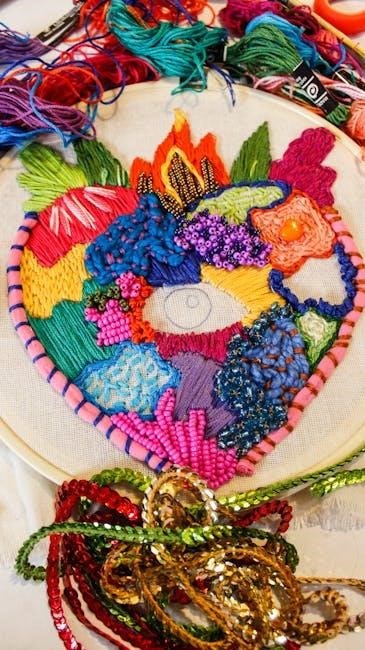
Combining Stitches for Unique Designs
Mixing different needlepoint stitches creates intricate and personalized designs. Start with foundational stitches like the tent or basketweave, then layer more complex patterns such as the diagonal chevron or woven stitch. Experiment with alternating colors and directions to add depth and visual interest. For example, pair the tent stitch with the diagonal chevron for a dynamic look. Use threads of varying textures and fibers to enhance dimension. Laura Taylor’s guides offer inspiration for combining stitches seamlessly. By blending techniques, you can craft one-of-a-kind pieces that reflect your creativity. Practice and patience will help you master these combinations, resulting in stunning, professional-quality needlepoint art.