The Sky Rover RC Helicopter is a popular, user-friendly remote-controlled toy designed for both indoor and outdoor use. Known for its stability and easy controls, it suits all skill levels, making it a great choice for beginners and experienced pilots alike.
1.1 Overview of the Sky Rover RC Helicopter
The Sky Rover RC Helicopter is a high-quality, radio-controlled model designed for both indoor and outdoor use. Its sleek design and user-friendly controls make it accessible to beginners while offering exciting features for experienced pilots. The helicopter is equipped with a built-in gyroscope for stable flight and comes with a remote control that allows for precise movements. It’s ideal for kids and adults alike, offering a fun and educational way to explore the basics of RC aviation. The Sky Rover is packaged with essential components like a USB charging cable, ensuring a seamless flying experience.
1.2 Key Features and Specifications
The Sky Rover RC Helicopter features a compact design with a built-in gyroscope for stable flight and 2.4 GHz remote control for interference-free operation. It supports functions like ascending, descending, turning left and right, and moving forward and backward. The helicopter is suitable for both indoor and outdoor flights, with a recommended flying height of up to 6 meters. It includes a rechargeable battery with a flight time of approximately 7 minutes and a charging time of around 60 minutes. The package also contains a USB charging cable, ensuring convenient charging.
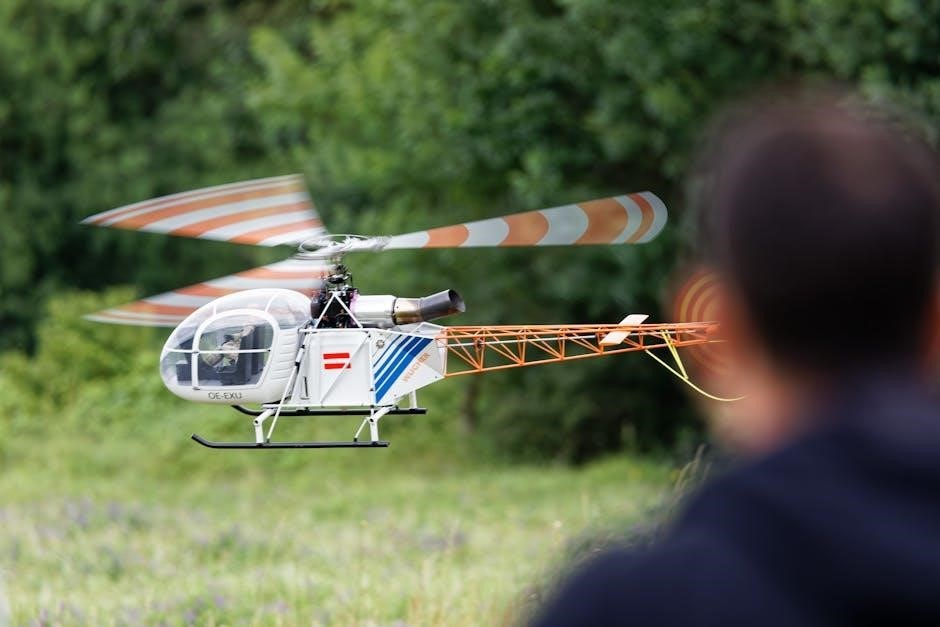
Setting Up the Sky Rover RC Helicopter
Start by carefully unboxing and inventorying all components, ensuring nothing is missing. Install batteries in the remote control and connect the helicopter’s power system to prepare for operation.
2.1 Unboxing and Inventory of Components
Begin by carefully unboxing your Sky Rover RC Helicopter and ensure all components are included. Typically, the package contains the helicopter, remote control, USB charging cable, spare rotor blades, and a user manual. Inspect each item for damage and verify against the manual’s checklist. This step ensures you have everything needed for assembly and operation. Organize the parts neatly to avoid losing small accessories like screws or spare blades. Cross-checking with the manual helps confirm that no essential items are missing before proceeding.
2.2 Installing Batteries in the Remote Control
To power the remote control, insert the required batteries (typically 4 AA batteries) into the designated compartment. Locate the battery cover on the back of the remote and remove the screws or slide it open. Align the batteries with the correct polarity, ensuring the positive and negative terminals match the markings inside the compartment. Once installed, replace the cover securely. Turn on the remote and test the controls to ensure proper functionality. Always use the recommended battery type to avoid damage and performance issues.
2.3 Connecting the Helicopter to the Remote Control
To connect the helicopter to the remote control, start by turning on the helicopter’s power. Next, press and hold the throttle stick on the remote while simultaneously turning on the remote control. The LED light on the helicopter will begin flashing, indicating the binding process has started. Once the LED stops flashing, the connection is established. Test the controls by gently moving the sticks to ensure the helicopter responds correctly. This process ensures a stable and interference-free connection for smooth flight operations.
Charging the Sky Rover RC Helicopter
Connect the USB charging cable to the helicopter’s underside port. The charging time is approximately 60 minutes. The LED light will turn off when fully charged.
3.1 Understanding the Charging Process
Charging your Sky Rover RC Helicopter is straightforward but requires attention to detail. Locate the charging port on the underside of the helicopter and connect the provided USB cable. Ensure the connection is secure to avoid interruptions. The LED indicator will illuminate during charging and turn off once fully charged, typically within 60 minutes. Avoid overcharging, as it may damage the battery. Always use the original charger to maintain safety and efficiency. If issues arise, consult the manual or contact customer support for assistance.
- Use only the included USB cable and charger.
- Avoid charging near flammable materials.
- Do not charge for more than 60 minutes.

3.2 Charging Time and Indicators
The Sky Rover RC Helicopter typically requires about 60 minutes to fully charge. During charging, the LED indicator on the helicopter will light up and remain illuminated. Once the battery is fully charged, the LED light will automatically turn off, signaling completion. It’s important to monitor the charging process to prevent overcharging, which can damage the battery. Always use the provided USB cable and charger for optimal performance and safety. Avoid charging near flammable materials and ensure the helicopter is placed on a stable surface during the process.
- Charging time: Approximately 60 minutes.
- LED indicator: On during charging, off when fully charged.
- Avoid overcharging to prolong battery life.
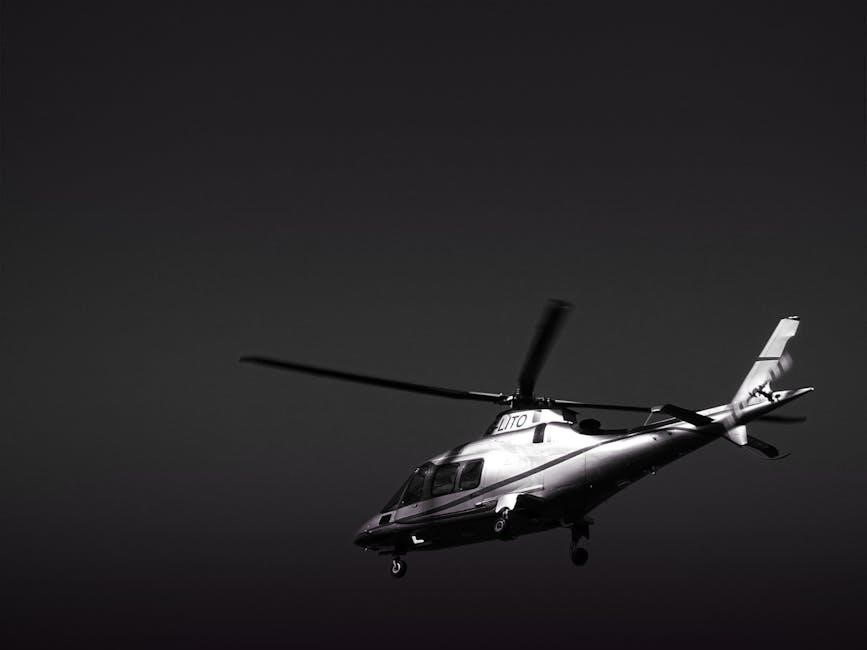
Flying the Sky Rover RC Helicopter
Flying the Sky Rover RC Helicopter is an exciting experience, offering smooth controls and stable performance. Perfect for indoor and outdoor use, it provides hours of entertainment for pilots of all skill levels.

4.1 Pre-Flight Checks and Safety Tips
Before flying the Sky Rover RC Helicopter, ensure the battery is fully charged and properly connected. Inspect the helicopter for damage or loose parts. Check the remote control’s battery level and ensure it’s functioning correctly. Choose a safe, open area away from obstacles and people. Avoid flying in strong winds or bad weather. Always maintain a safe distance from yourself and others. Keep the helicopter away from children and pets when in operation. Adult supervision is recommended for younger users. Follow these guidelines to ensure a safe and enjoyable flying experience.
4.2 Basic Flight Operations: Takeoff, Landing, and Movement
To initiate takeoff, press and hold the throttle on the left joystick until the helicopter lifts off the ground. Once airborne, adjust the throttle to maintain a steady height. For movement, use the right joystick to control direction—forward, backward, left, or right. To land, gradually reduce the throttle and guide the helicopter down gently. Practice hovering at a low altitude to improve control. Always use smooth, gradual movements to ensure stability and avoid sudden jerks. This will help you master the basics of flying the Sky Rover RC Helicopter effectively.
4.3 Advanced Flight Techniques
For experienced pilots, the Sky Rover RC Helicopter offers advanced flight capabilities. Practice hovering at higher altitudes to master stability in varying conditions. Use the trim adjustment to fine-tune the helicopter’s responsiveness. Try 3D stunts like flips and rolls by combining joystick movements. Ensure smooth transitions between maneuvers for consistent control. Experiment with higher throttle settings to increase speed and agility. Always maintain focus and gradually push your limits to avoid crashes. With practice, you can unlock the full potential of the Sky Rover RC Helicopter and enjoy thrilling, precise flights.

Maintenance and Troubleshooting
Regularly inspect and clean the helicopter to ensure smooth operation. Check for worn or damaged parts and replace them promptly. Refer to the manual for troubleshooting common issues like battery problems or connectivity loss. Proper maintenance extends the lifespan and performance of the Sky Rover RC Helicopter.
5.1 Regular Maintenance Tips
To keep your Sky Rover RC Helicopter in optimal condition, clean it regularly with a soft cloth to remove dust and debris. Inspect the rotors, blades, and gears for wear or damage, replacing any faulty parts immediately. Check the battery connections and ensure they are secure. Store the helicopter in a dry, cool place when not in use. Avoid exposing it to extreme temperatures or moisture. Regularly charge the battery according to the manufacturer’s guidelines to maintain its health. Proper care will extend the lifespan and performance of your Sky Rover RC Helicopter.
5.2 Common Issues and Solutions
If the helicopter doesn’t power on, ensure the battery is fully charged and properly connected. For unstable flight, check rotor balance and tighten loose parts. If the LED light flashes continuously, reset the power system by turning it off and on. For signal interference, switch to a different frequency channel on the remote. Regularly lubricate moving parts to prevent wear. Replace damaged blades or gears with official spare parts. Consult the user manual or contact support for persistent issues to ensure optimal performance and longevity of your Sky Rover RC Helicopter.
The Sky Rover RC Helicopter offers a stable and enjoyable flying experience, perfect for both beginners and experienced pilots, making it a great choice for all skill levels.
6.1 Final Thoughts on the Sky Rover RC Helicopter
The Sky Rover RC Helicopter is an excellent choice for both beginners and experienced pilots, offering a stable and responsive flying experience. Its user-friendly design, combined with durable construction, makes it a great option for indoor and outdoor flights. The helicopter’s ease of control and impressive features, such as LED lights and multiple frequency options, enhance its appeal. Whether you’re looking for casual fun or refining your piloting skills, the Sky Rover delivers a thrilling and rewarding experience.
6.2 Recommended Accessories and Upgrades
To enhance your Sky Rover RC Helicopter experience, consider adding extra Li-Po batteries for extended flight sessions. Spare rotor blades and replacement parts are essential for maintaining performance and addressing wear and tear. A high-quality remote control or a carrying case can improve convenience and portability. Upgrading to a more powerful motor or advanced gyro system can boost stability and control for experienced users. These upgrades ensure your helicopter remains in top condition and provides endless fun for pilots of all levels.


